Vidray user guide
How to use Vidray: cut and join videos, fit a video under a size or keep its look, change its format, keep only the sound, and turn on Pro.
This is the user guide for Vidray 1.0.0. The latest release is 1.0.1.
Settings shows the version you have.
Open the 1.0.1 user guideSections
Getting started
Working with videos
Pro and your license
Install
Download Vidray from the Download page. On Windows, open the setup file: it installs for your Windows account only, so it needs no administrator rights. If Windows SmartScreen shows a warning, choose More info, then Run anyway. Vidray runs on Windows 10 and 11, 64-bit.
On a Mac, open the disk image and drag Vidray to Applications. It runs on macOS 11 Big Sur or later, on Apple silicon and Intel Macs.
Vidray itself is in English, so this guide names its buttons the way the app does.
The window
On the left are Vidray’s three tools: Compress, Convert and Extract audio. Under them are your plan, Vidray Free or Vidray Pro, and Settings.
Each tool has its choices on the right: a goal, a format or a quality. Set them first, then drop a video anywhere on the window, or choose Choose a file. Vidray starts right away.
It opens MP4, MOV, MKV, AVI, WebM, MTS, MPG and many more; See all formats lists them. The new file is saved next to the original, which stays as it was.
Make a video smaller
- Open Compress.
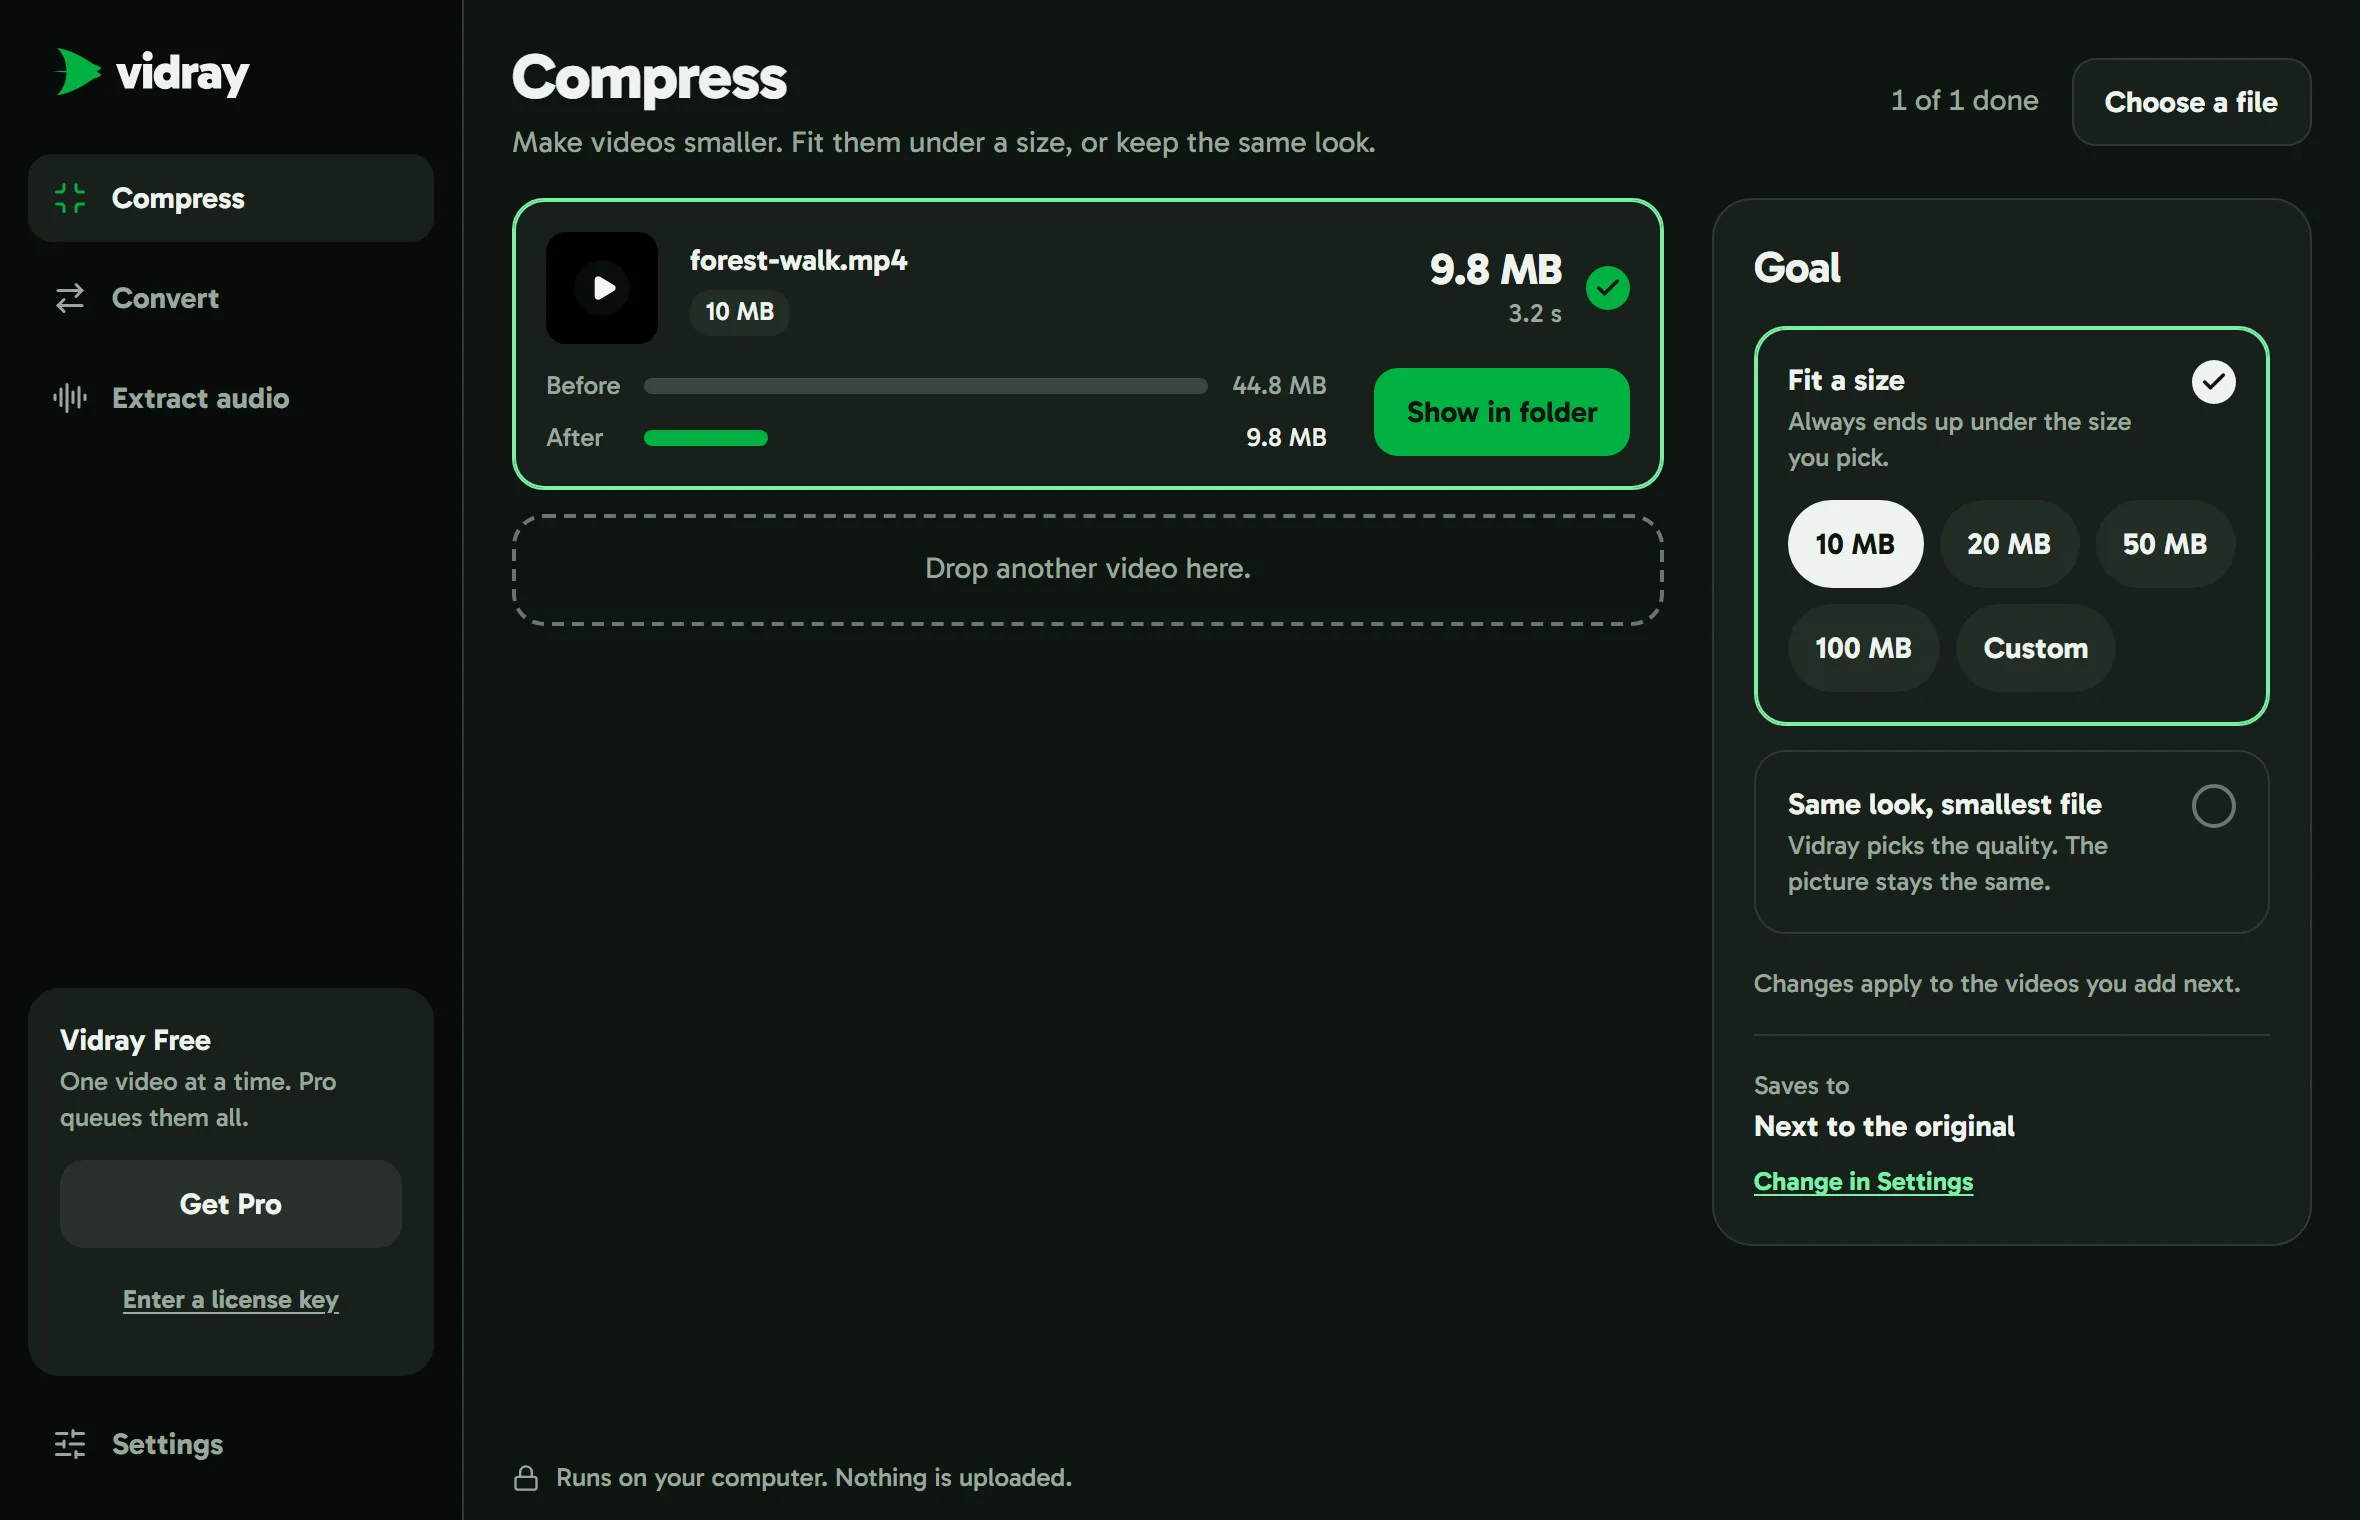
- Under Goal, choose Fit a size and pick 10, 20, 50 or 100 MB, or Custom for any size from 1 to 2000 MB. Or choose Same look, smallest file.
- Drop the video on the window, or choose Choose a file.
Fit a size always ends up under the size you pick, for an email, a chat app or an upload limit. To get there Vidray may lower the resolution or the frame rate. If a video can’t fit, Vidray says so: pick a bigger size or a shorter clip.
Same look, smallest file lets Vidray choose the quality, so the picture looks unchanged. If the result would hardly be smaller, Vidray keeps the original and the row says Kept original.
A video already under the size you picked is left as it is, and Vidray says so. Compressed videos are MP4 files, which play on phones, TVs and in every browser.
When a video is done
The row shows the new size and how long it took. Choose the row to see the size before and after, and Show in folder to find the new file. The play button on the left previews the video.
A video waiting its turn can be taken out with its × button, and one being made can be stopped with Cancel.
New files get (Vidray) at the end of their name, so an original is never replaced: forest-walk.mp4 becomes forest-walk (Vidray).mp4. If that name is taken, Vidray adds a number.
Change the format
- Open Convert.
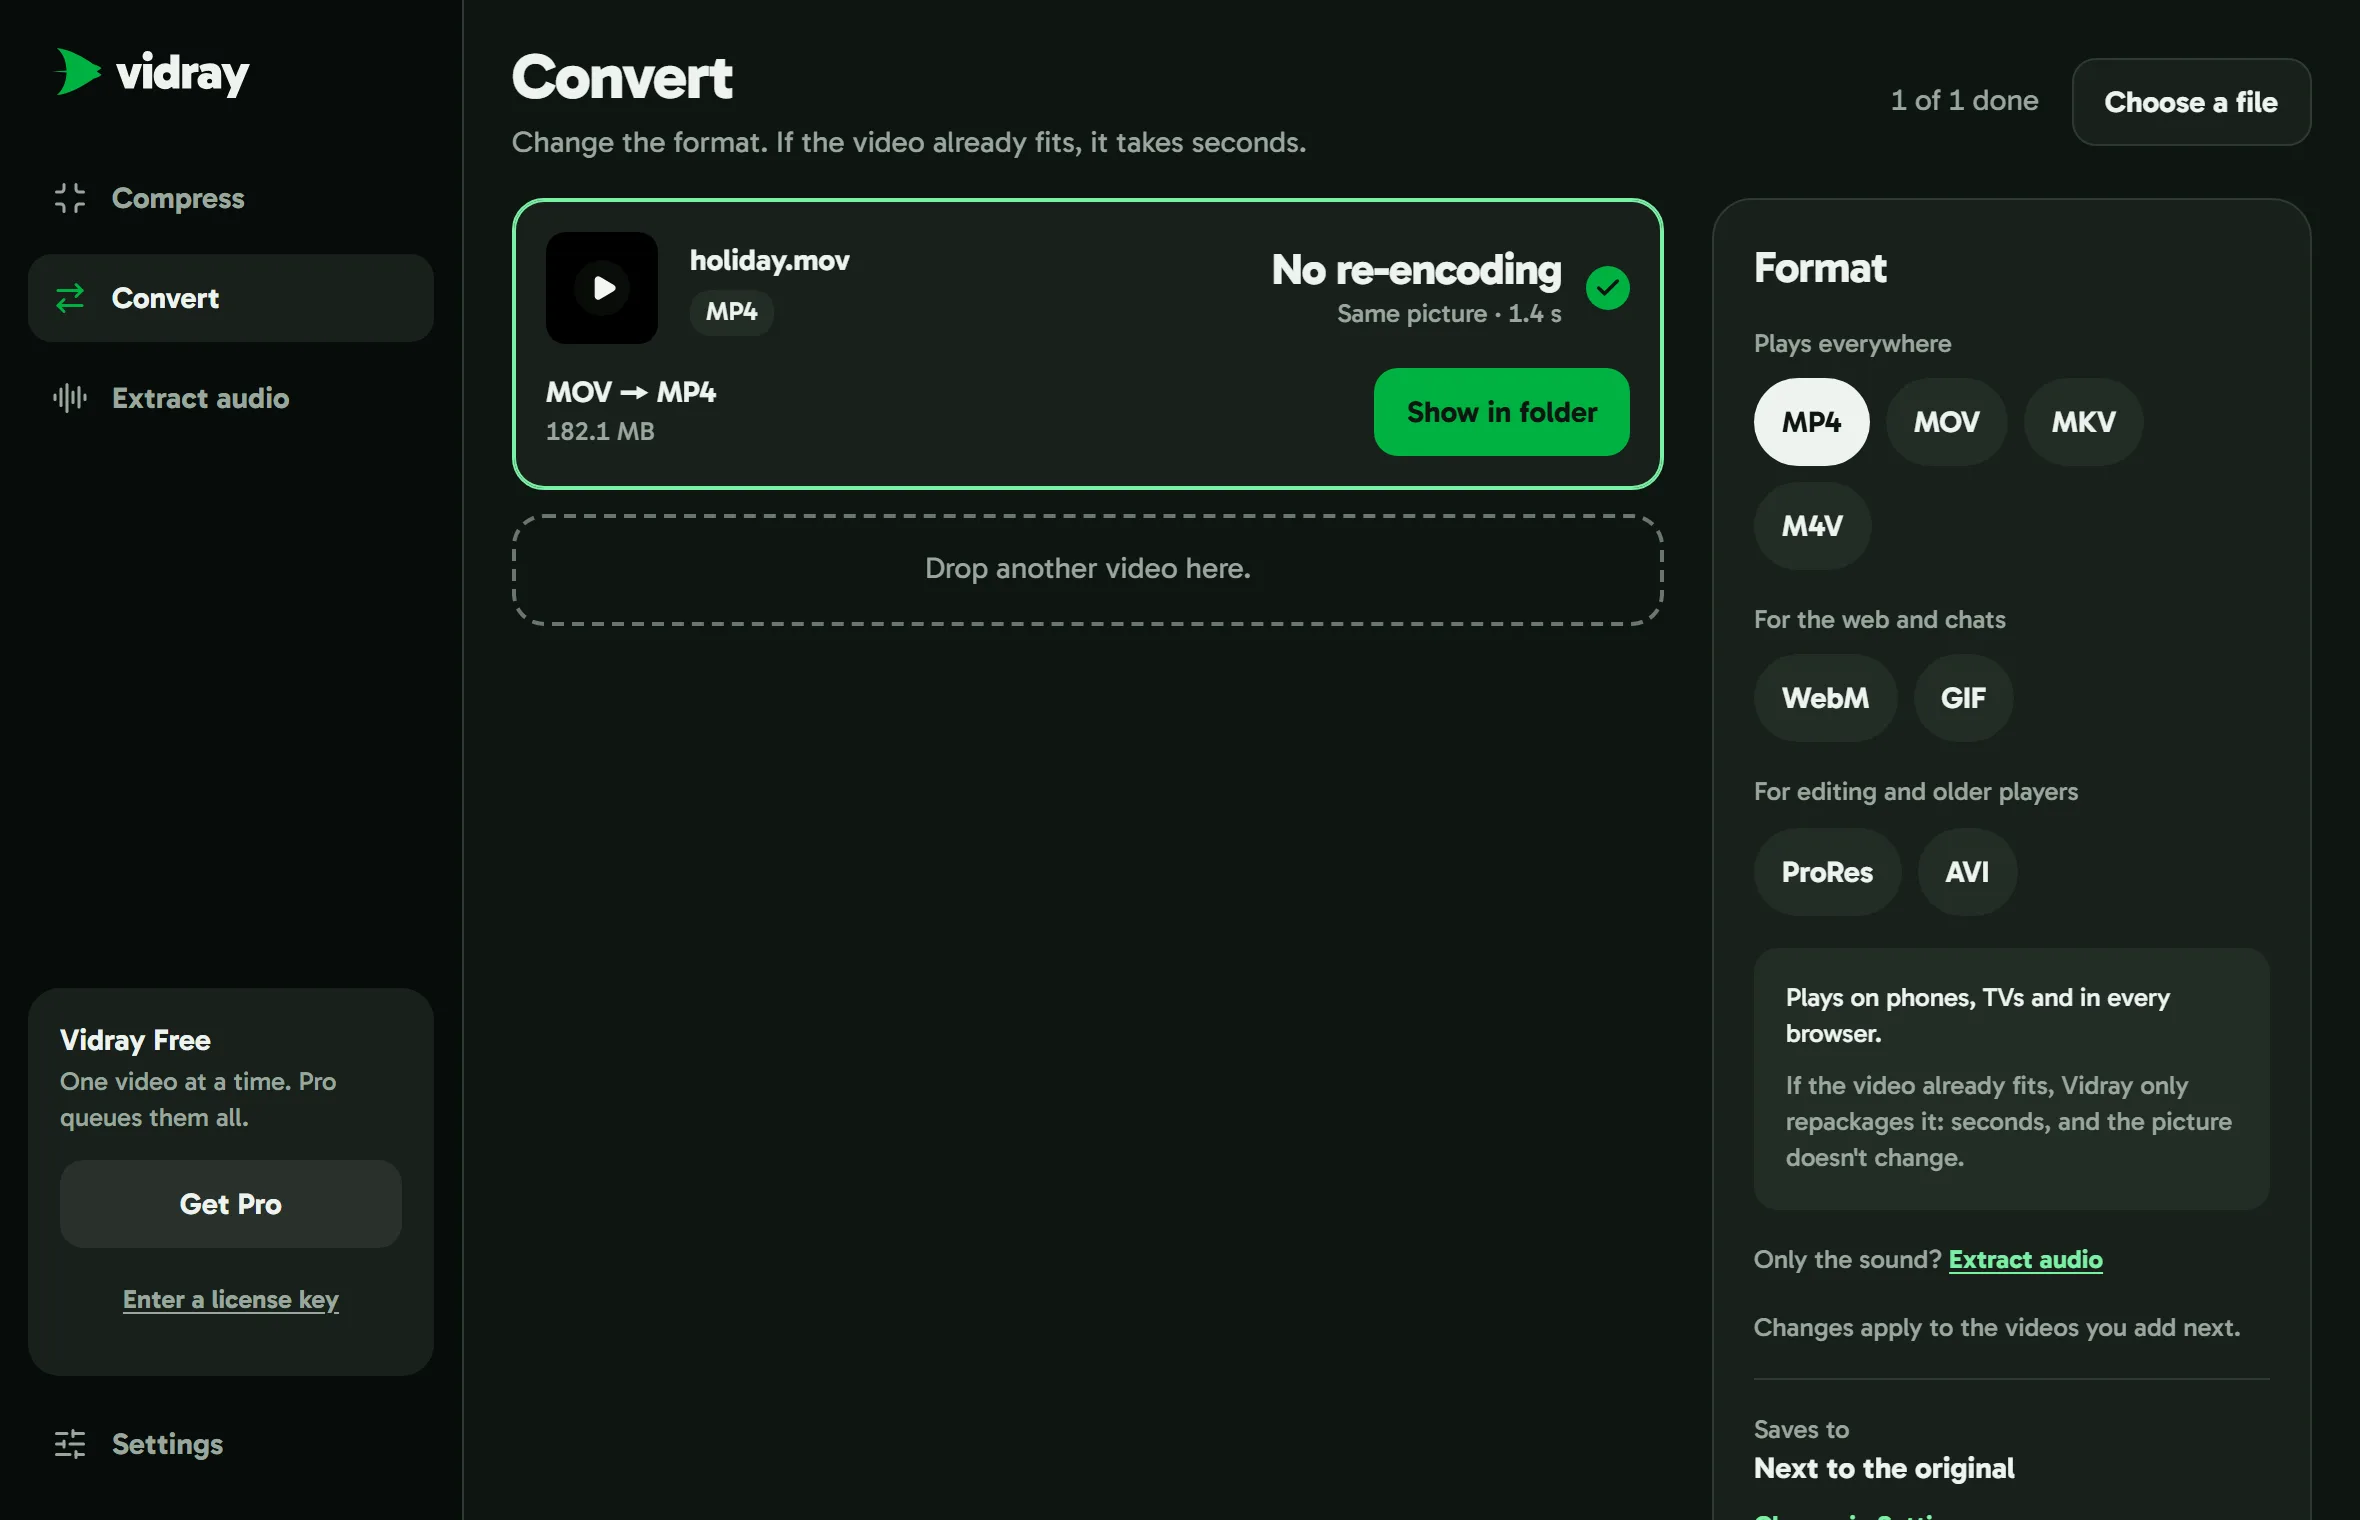
- Under Format, choose MP4, MOV, MKV or M4V to play everywhere, WebM or GIF for the web and chats, or ProRes or AVI for editing and older players. The box under the formats says what each one is for.
- Drop the video, or choose Choose a file.
If the video already suits the new format, Vidray only repackages it: it takes seconds, the picture doesn’t change, and the row says No re-encoding. Otherwise Vidray makes the video again in the new format.
A GIF is a silent loop, for clips up to a minute long. ProRes is for editing and makes large files. AVI is for older TVs and DVD players, up to 1080p.
Keep only the sound
- Open Extract audio, or choose Extract audio under the formats in Convert.
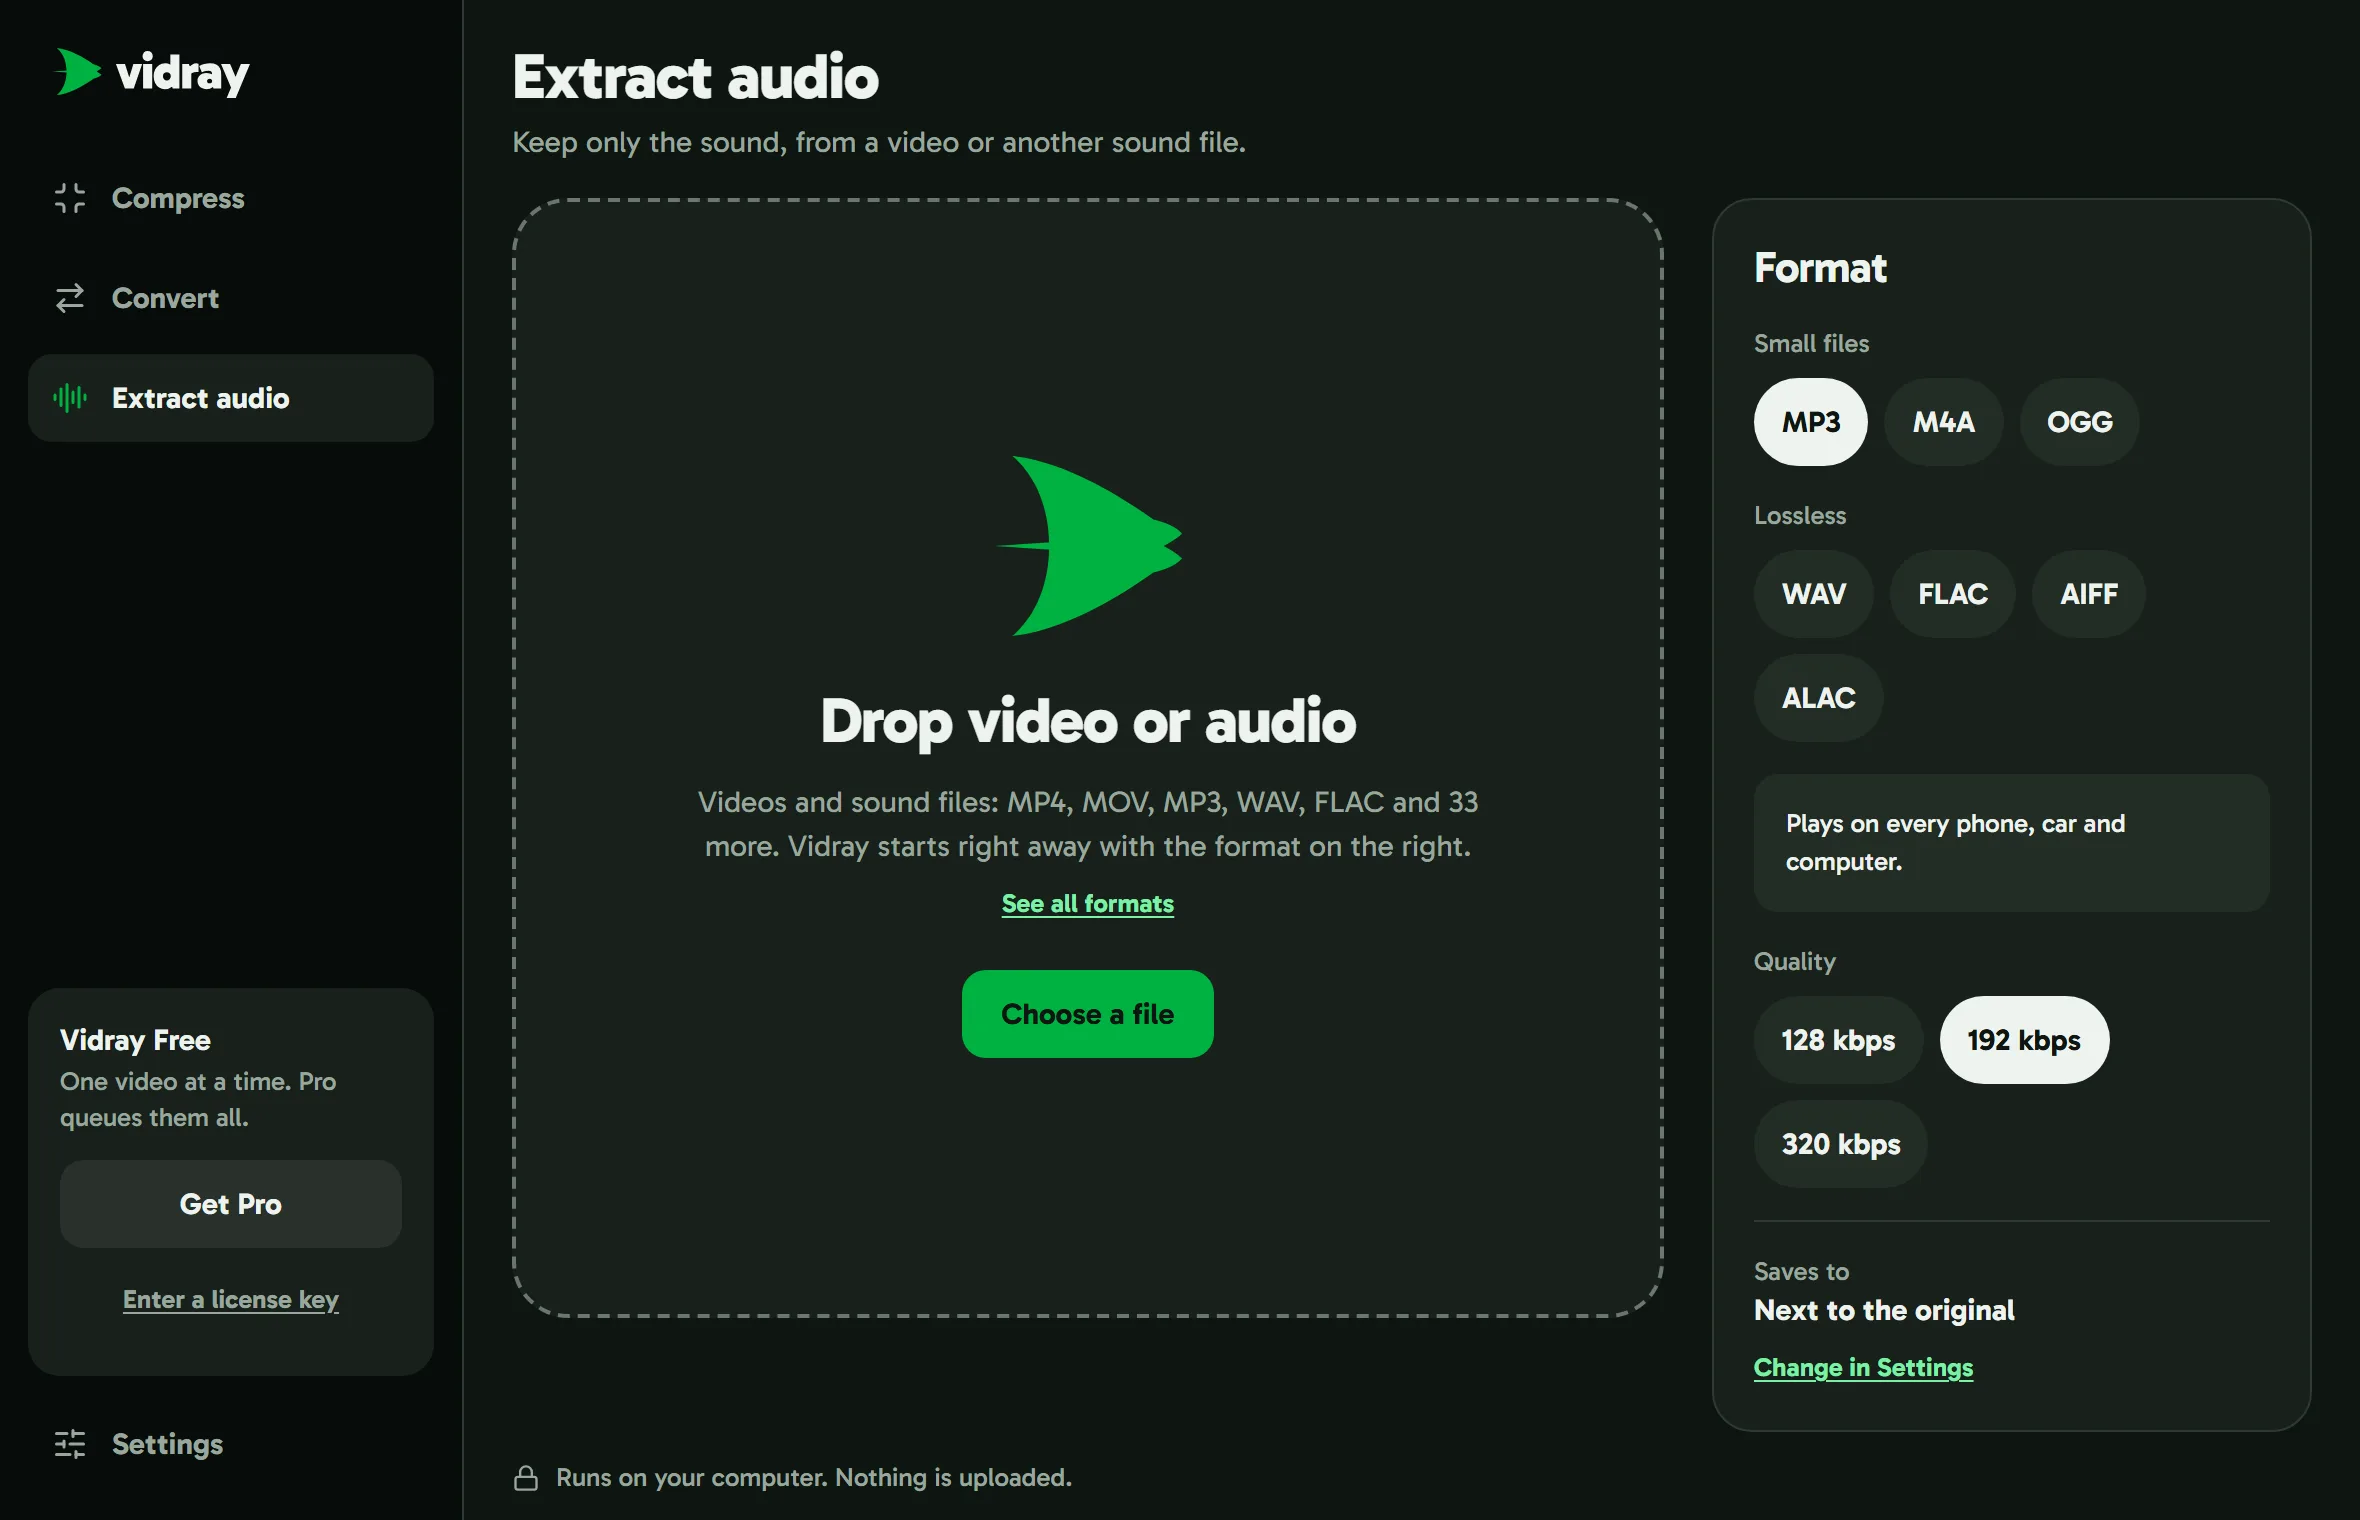
- Under Format, choose MP3, M4A or OGG for small files, or WAV, FLAC, AIFF or ALAC to keep every bit of the sound. For MP3, M4A and OGG, also choose the quality: a higher number of kbps sounds better and makes a bigger file.
- Drop a video or a sound file, or choose Choose a file.
Extract audio takes sound files too, such as WAV, FLAC or M4A, so it also turns one sound format into another. When the sound already suits the format, it’s copied as it is and the row says No re-encoding.
From the right-click menu
On Windows, right-click a video in File Explorer and choose Vidray, then Compress, Convert or Extract audio. On Windows 11 it’s under Show more options. Vidray opens, or takes the video if it’s already open, and starts with the goal or format you chose last.
On a Mac, right-click a video in Finder and choose Quick Actions, then Compress with Vidray, Convert with Vidray or Extract Audio with Vidray. They appear after Vidray’s first start.
Free and Pro
Vidray Free does everything in this guide, one video at a time: every goal, format and quality, with no watermark and no time limit.
Vidray Pro adds the queue: drop as many videos as you like, or a folder, and Vidray makes them one after another. From a folder it takes the videos in it, not those in its subfolders. Pro is $24.99, paid once, for one computer at a time, Windows or Mac. Within 14 days of buying, write to us for a full refund.
Turn on Pro
- After you buy, open the email with your license key and choose its button: Vidray opens and turns Pro on.
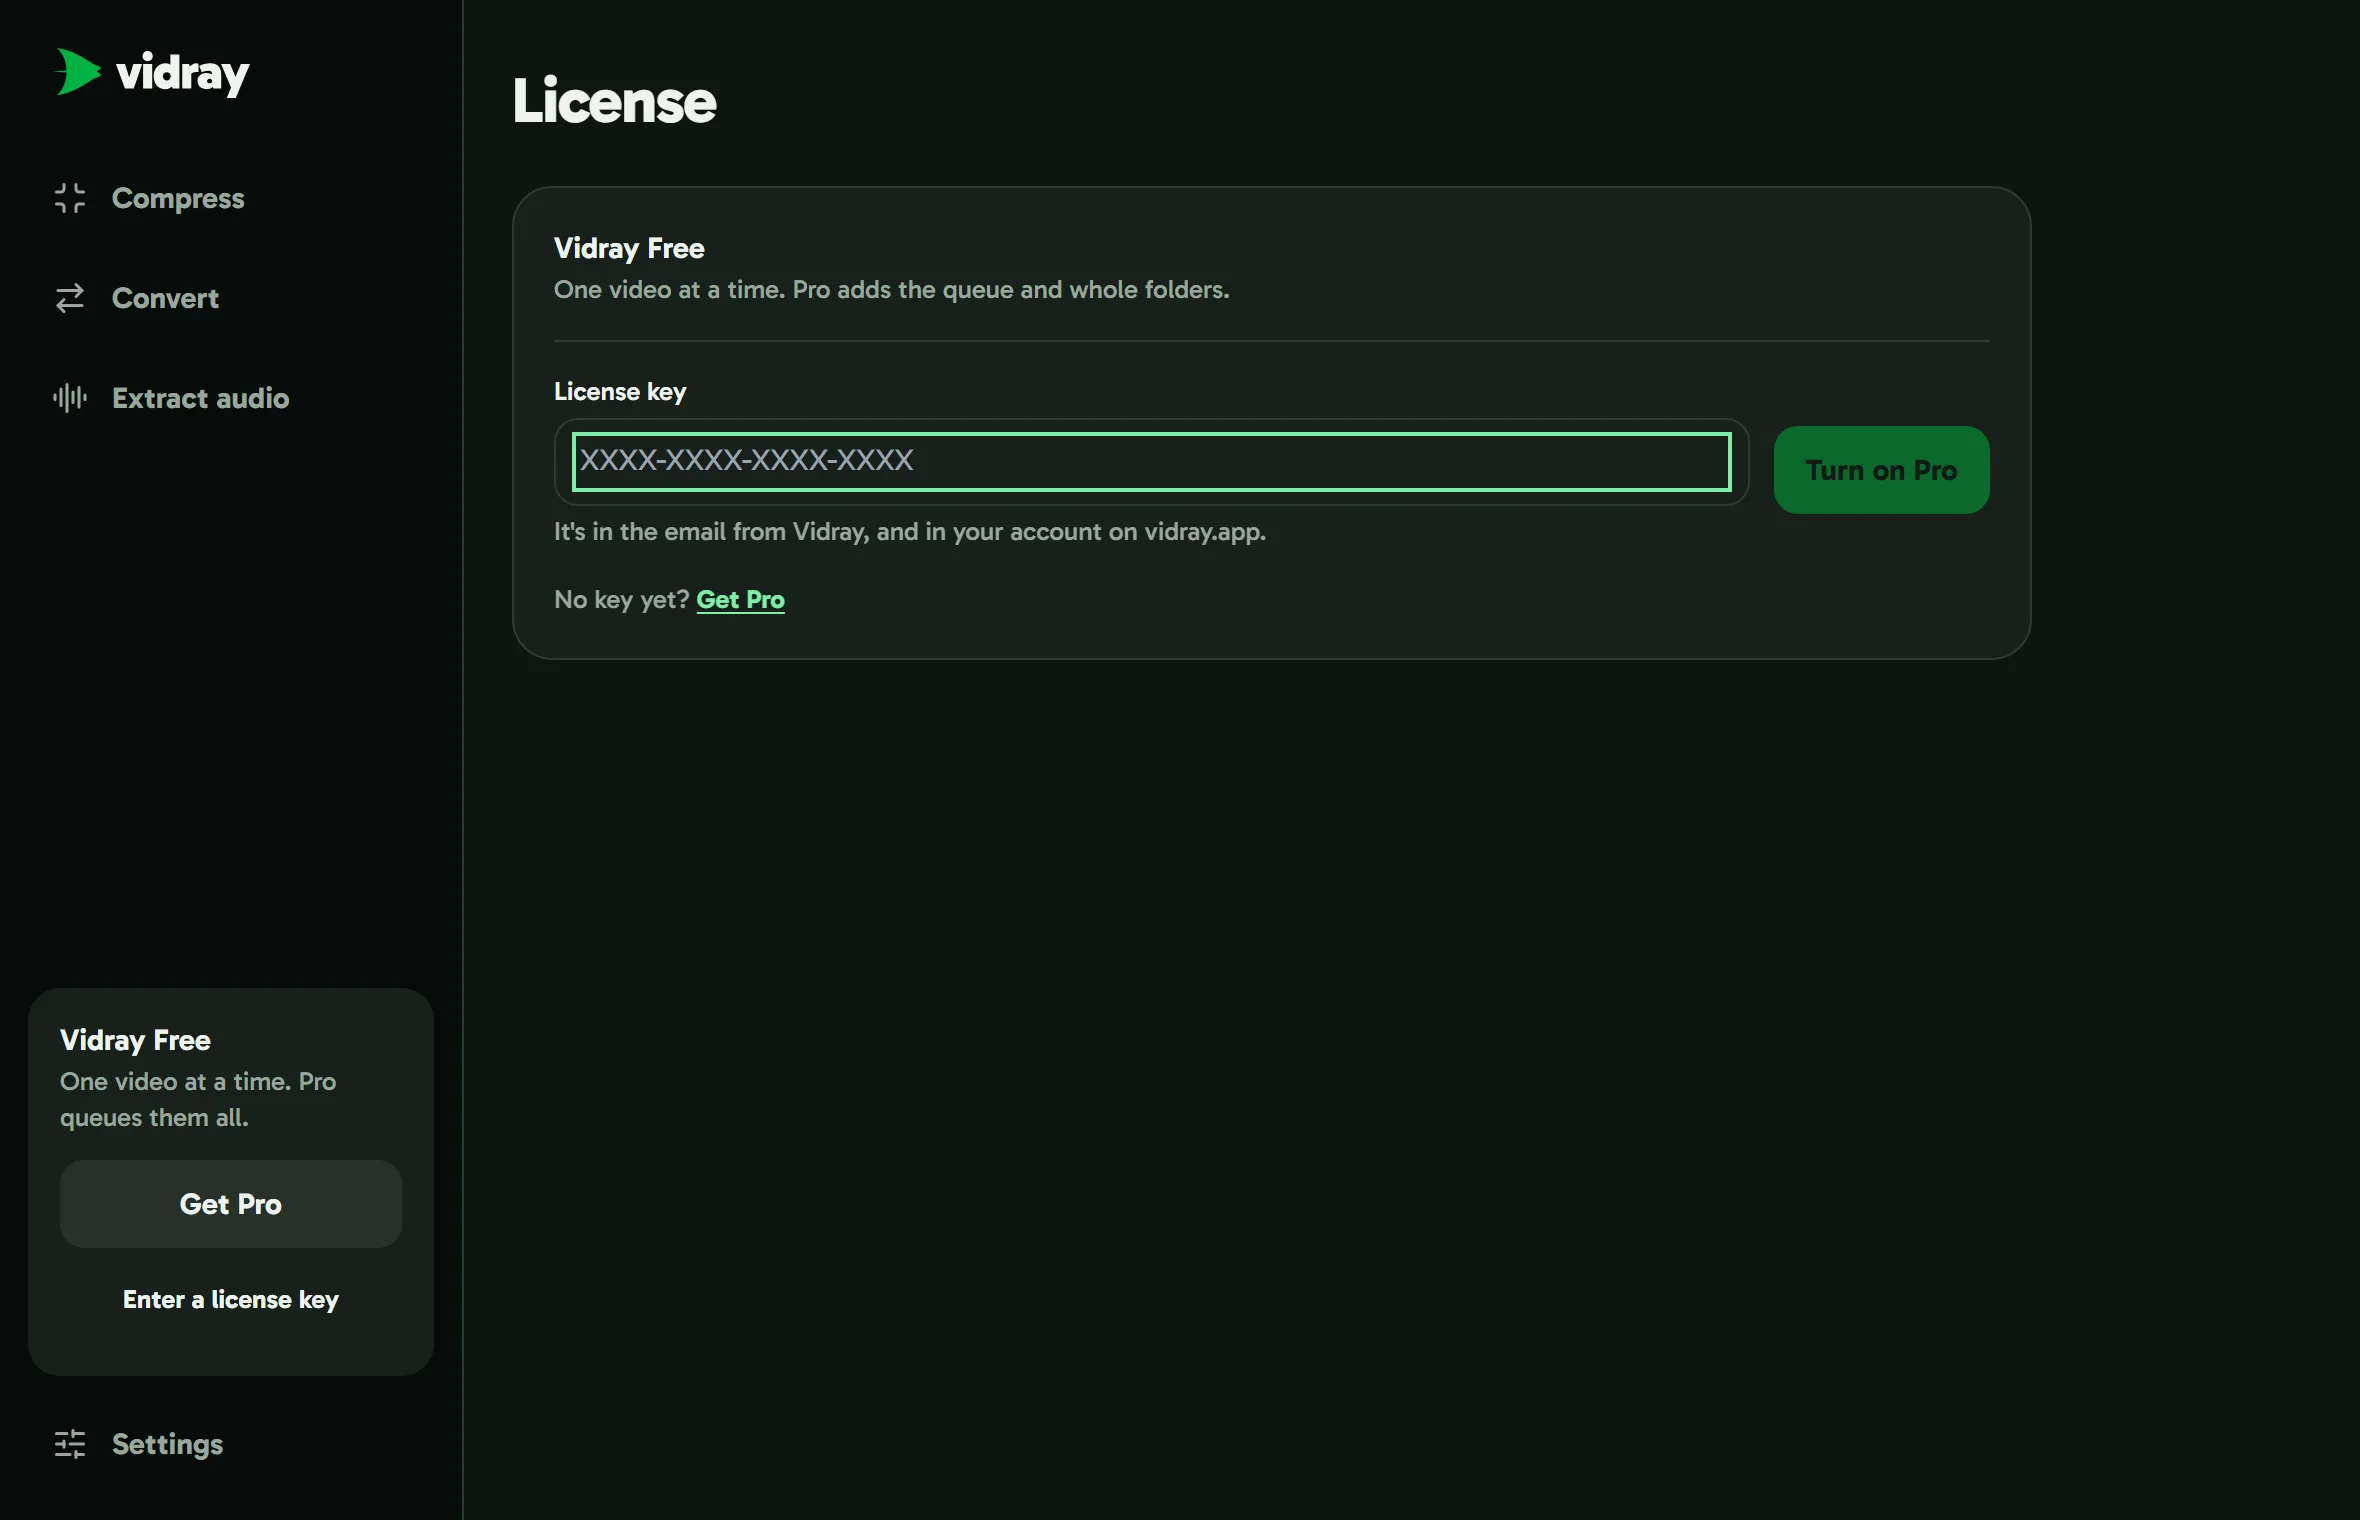
- Or choose Enter a license key at the bottom of the left bar, paste the key and choose Turn on Pro.
Your key is also in your account on this site. To move Pro to another computer, choose Vidray Pro in the left bar, then Move Pro to another computer and Turn off Pro here, and enter the same key on the other computer. You can also turn it off from your account on this site.
While Pro is on, Vidray checks the license with vidray.app once a day. Without an internet connection Pro stays on. If the key was refunded or turned off from your account, Vidray goes back to Free.
Settings
Output: save new files next to the original, or in a folder you choose, and set what’s added to their name. Leave that box empty and Vidray numbers the new file instead, such as phone-video (1).mp4.
Performance: Use the graphics card is on, which is fastest. Found on this computer lists what Vidray can use; Check again looks again after a new graphics card or driver.
Appearance: Match system, Light or Dark.
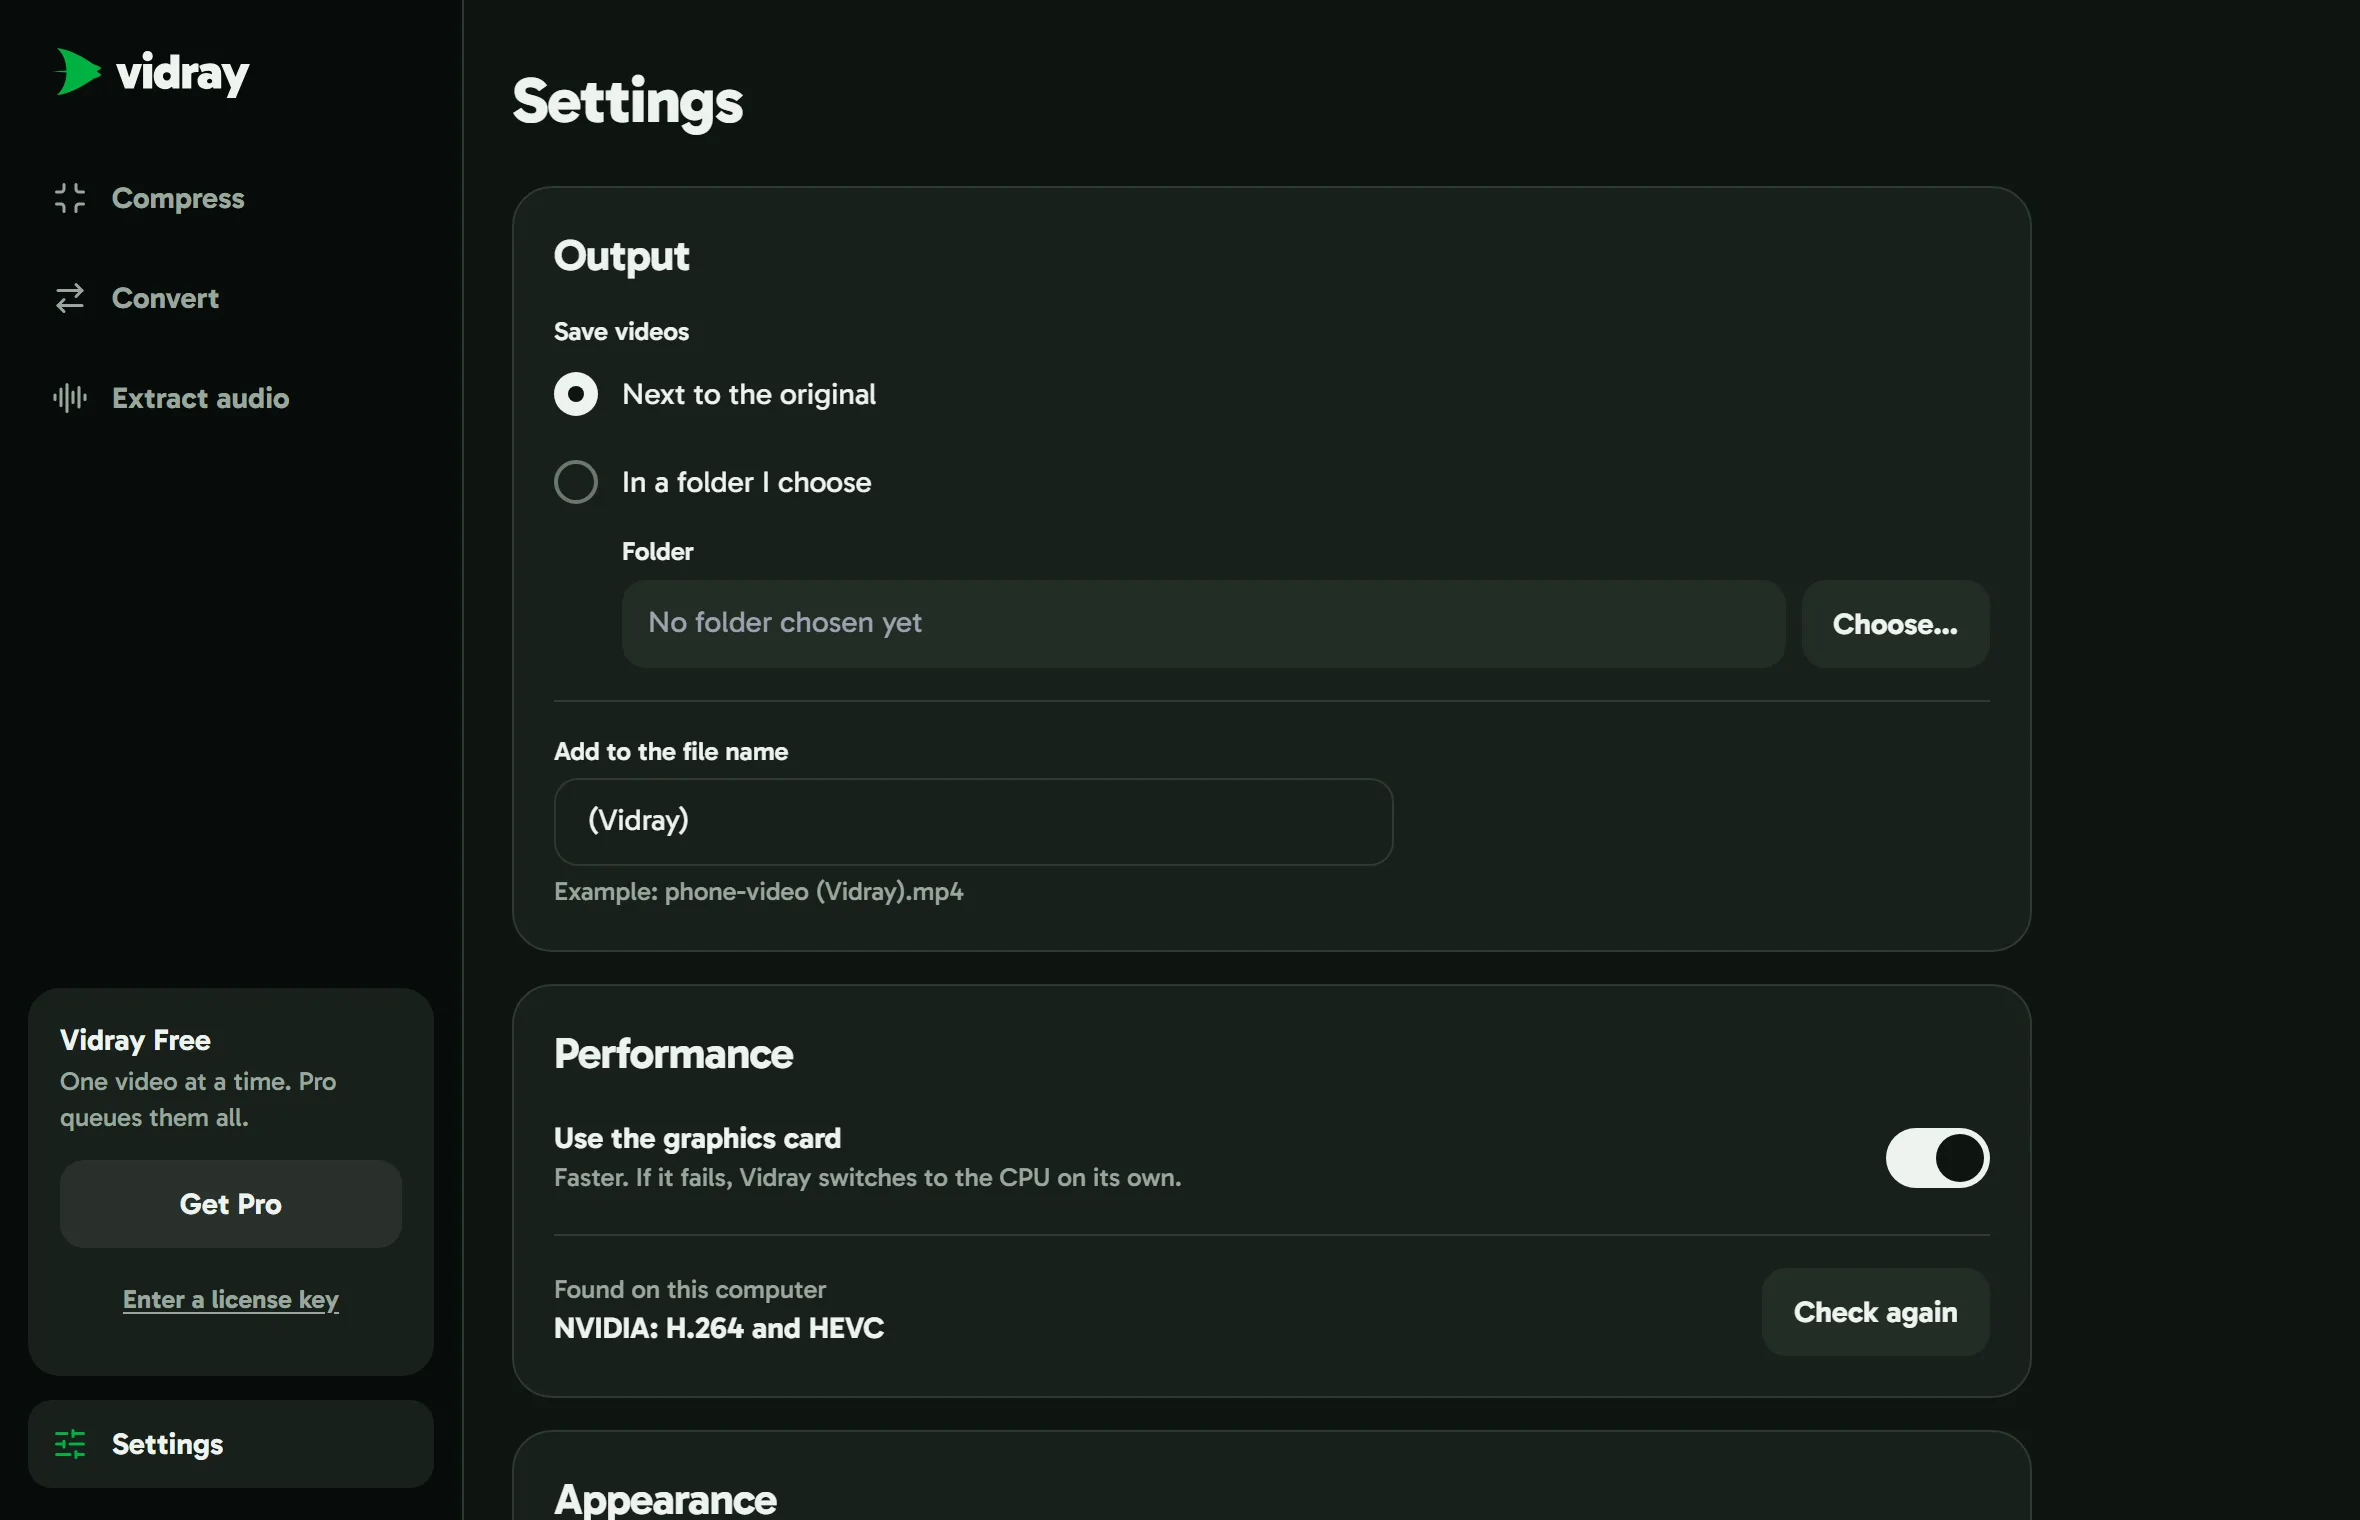
The graphics card
Vidray makes videos on the graphics card when it can: NVIDIA, AMD, Intel or Apple. The first time it starts, it checks what this computer has, and a video waits with Checking your graphics card… meanwhile. You don’t need a strong graphics card: without one, Vidray uses the processor.
If the graphics card fails during a video, Vidray makes it again another way and the row says so, such as Switched to CPU. On Windows, if a video keeps stopping with an encoding error, turn off Use the graphics card in Settings and try again.
Updates
With Check for updates automatically on, Vidray looks once a day and downloads a new version in the background. When it’s ready, Restart to update appears at the bottom of the left bar and in Settings. Vidray waits until your videos are done.
Check now in Settings looks right away. Settings also shows the version you have.
Your videos stay on your computer
Vidray makes every file on your own computer. Your videos are never uploaded, and it works without an internet connection.
It goes online to check your license once a day while Pro is on, and to look for updates while they’re on. The privacy policy lists what the app sends.
When something goes wrong
Can’t save to this folder: choose another folder in Settings, under Output.
Couldn’t fit under the size: the clip is too long for that size. Pick a bigger size or a shorter clip.
GIFs are for short clips: a GIF can be up to 60 seconds long.
Anything else: choose Copy details under the message and paste it into an email to support@vidray.app. It’s a report of what Vidray did with that video, including the file’s name and folder, and it leaves your computer only if you send it.